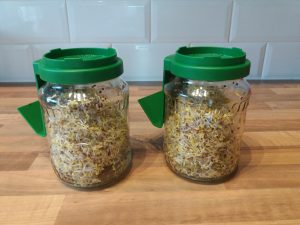
Recently I grew some Broccoli Sprouts. These are incredibly beneficial due to a compound called sulforaphane.
If you want to know all the health benefits of broccoli sprouts check out this very comprehensive video by the amazing Dr Rhonda Patrick.
Sulforaphane contained within broccoli sprouts is:
- Anti-inflammatory and Anti-cancer
- Benefits Brain Health
- Benefits Cardiovascular Health
- Anti-ageing
How To Grow Broccoli Sprouts At Home
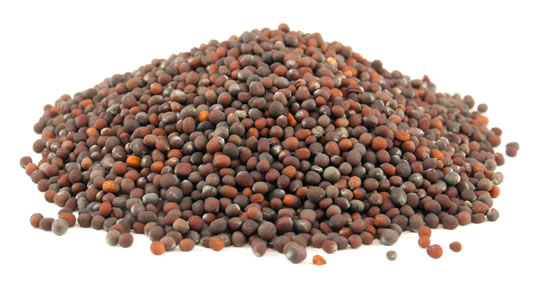
So let’s get started. You only need two things, a sprouting jar and some organic broccoli seeds. I bought these jars for £5 each and the seed packets are £4.50, both off Amazon.
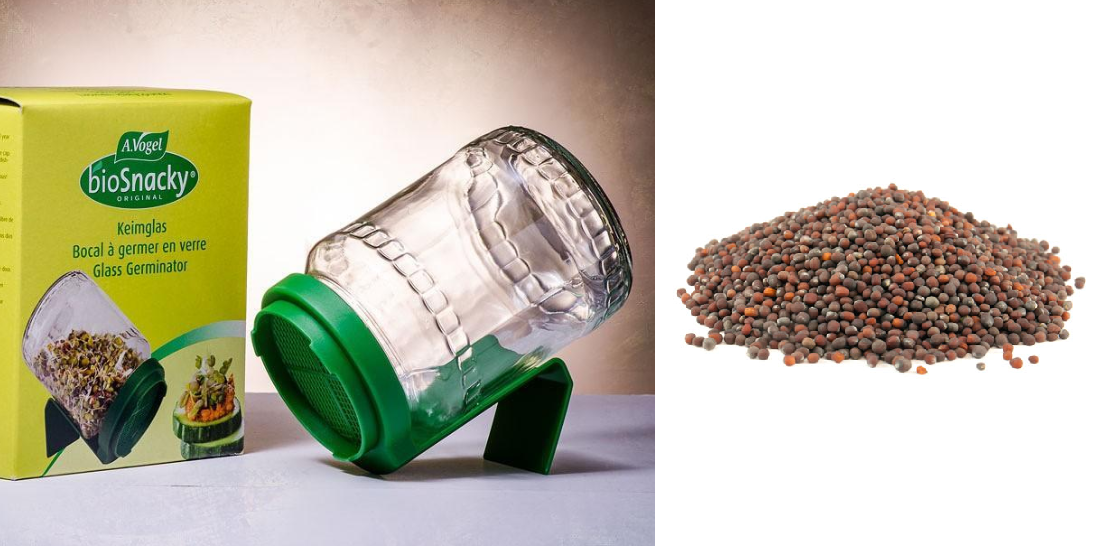
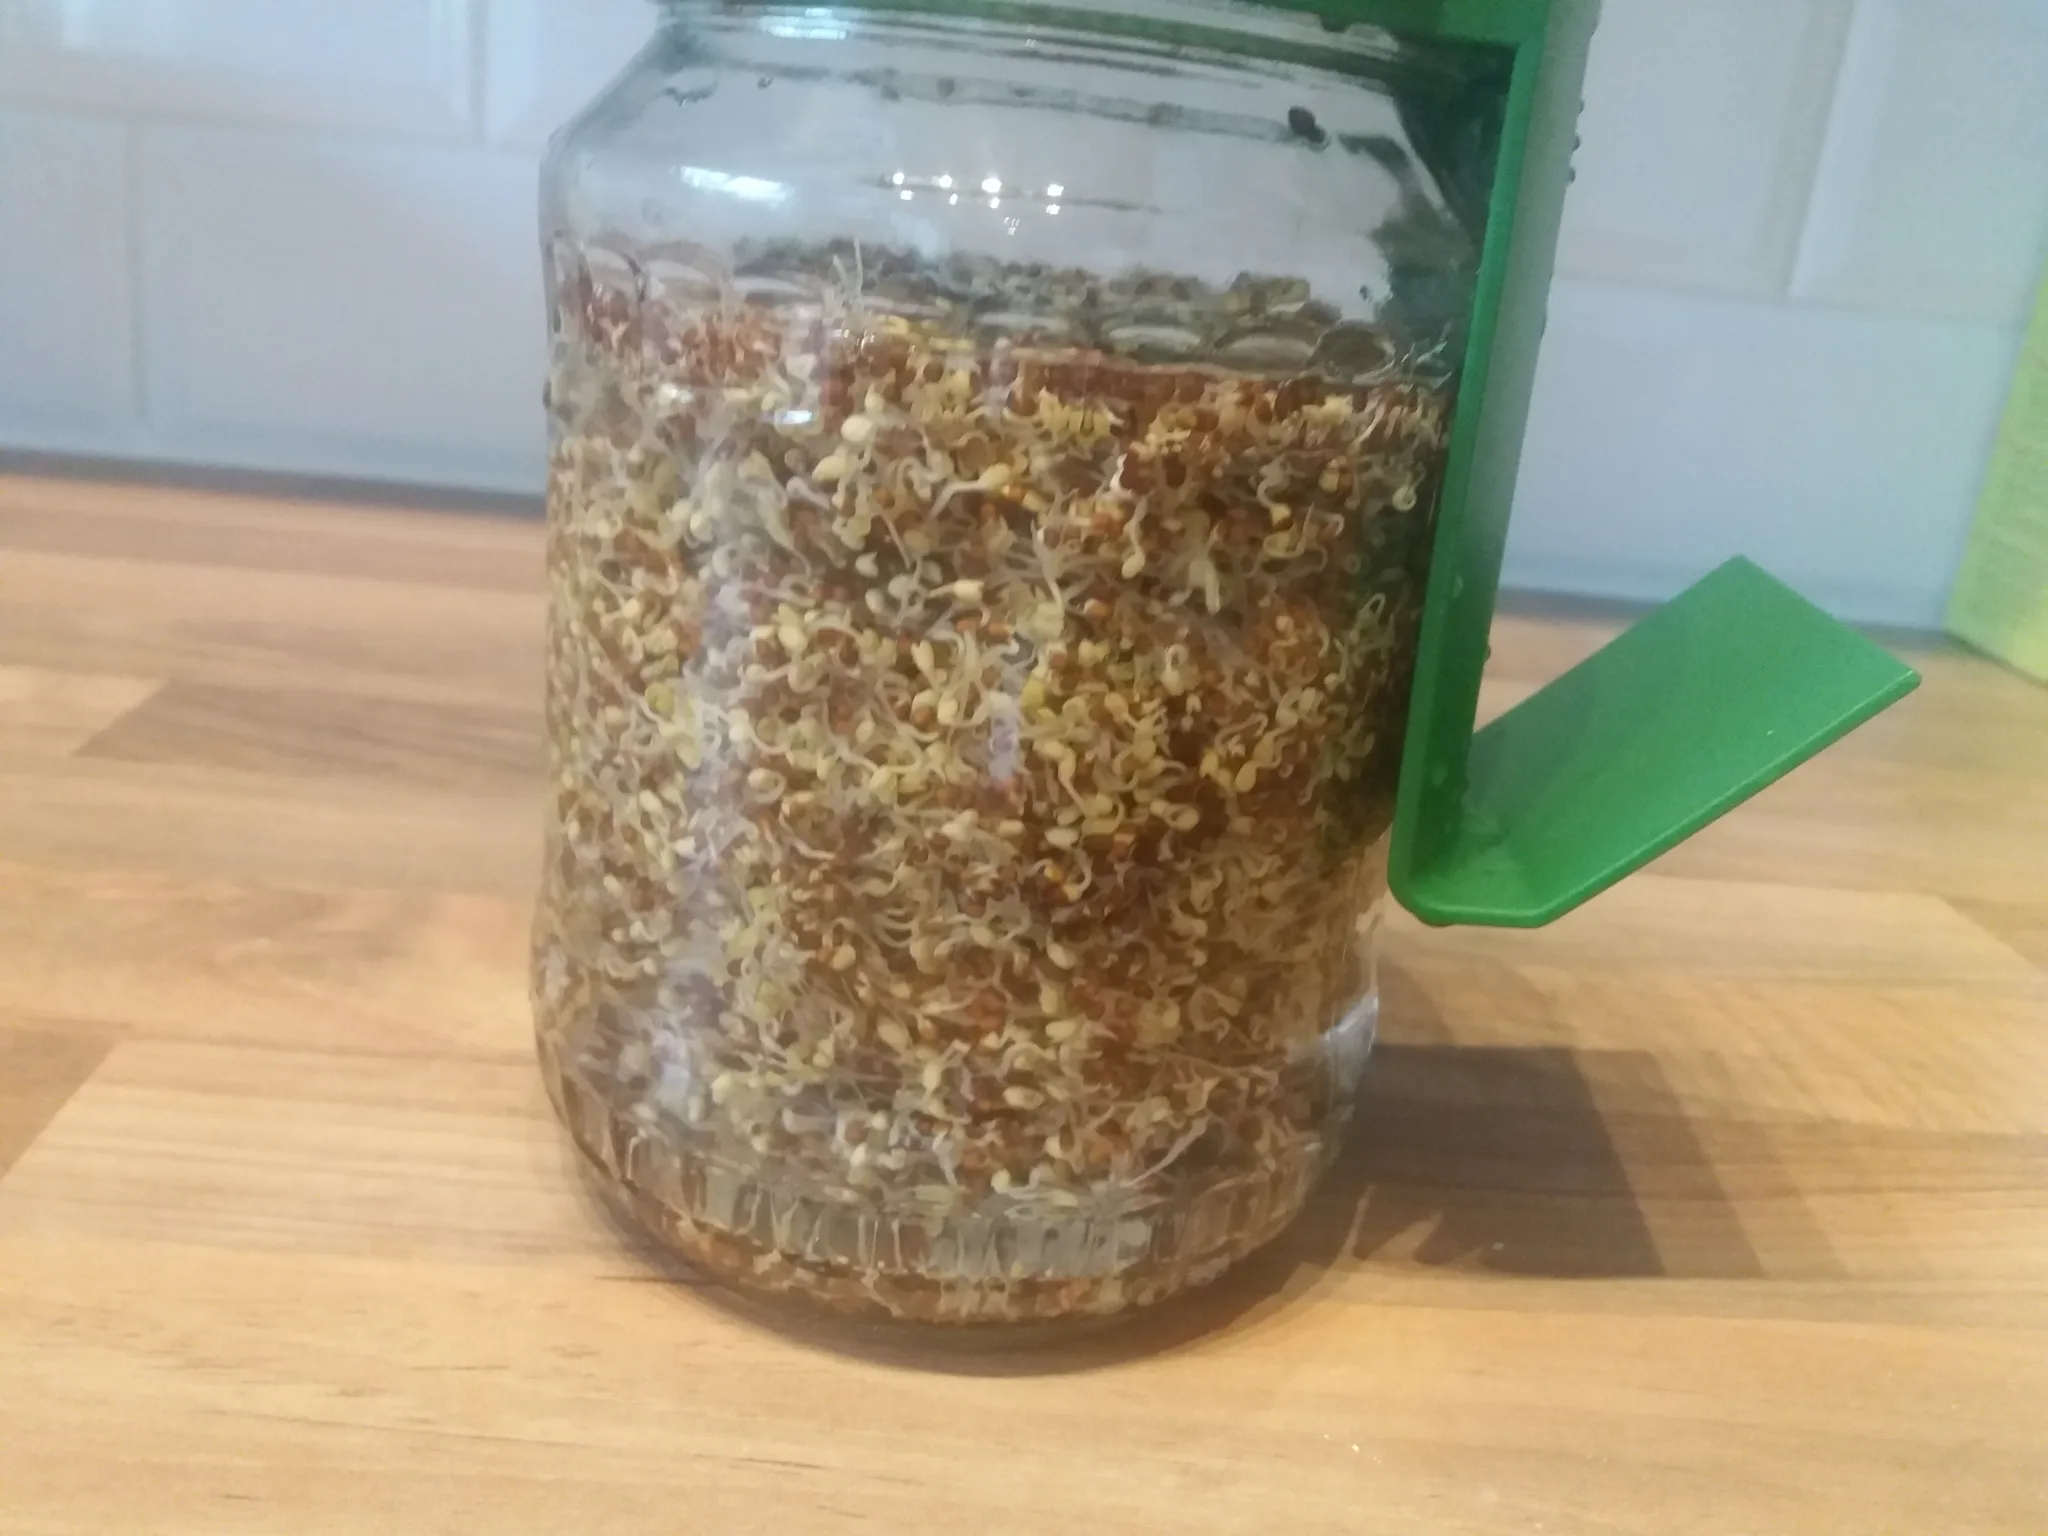
Here’s where I ran into my first issue. How much of the seed do you add? First time round I put in way too much, and needed to use my second jar and then a third container to house them all. That was two tablespoons, but it makes more sense just to weigh them since spoons can vary. One teaspoon was 6 grams and I ended up with half a jar of sprouts, which is a pint jar, so around 12 grams of seeds would produce enough sprouts to fill a pint.
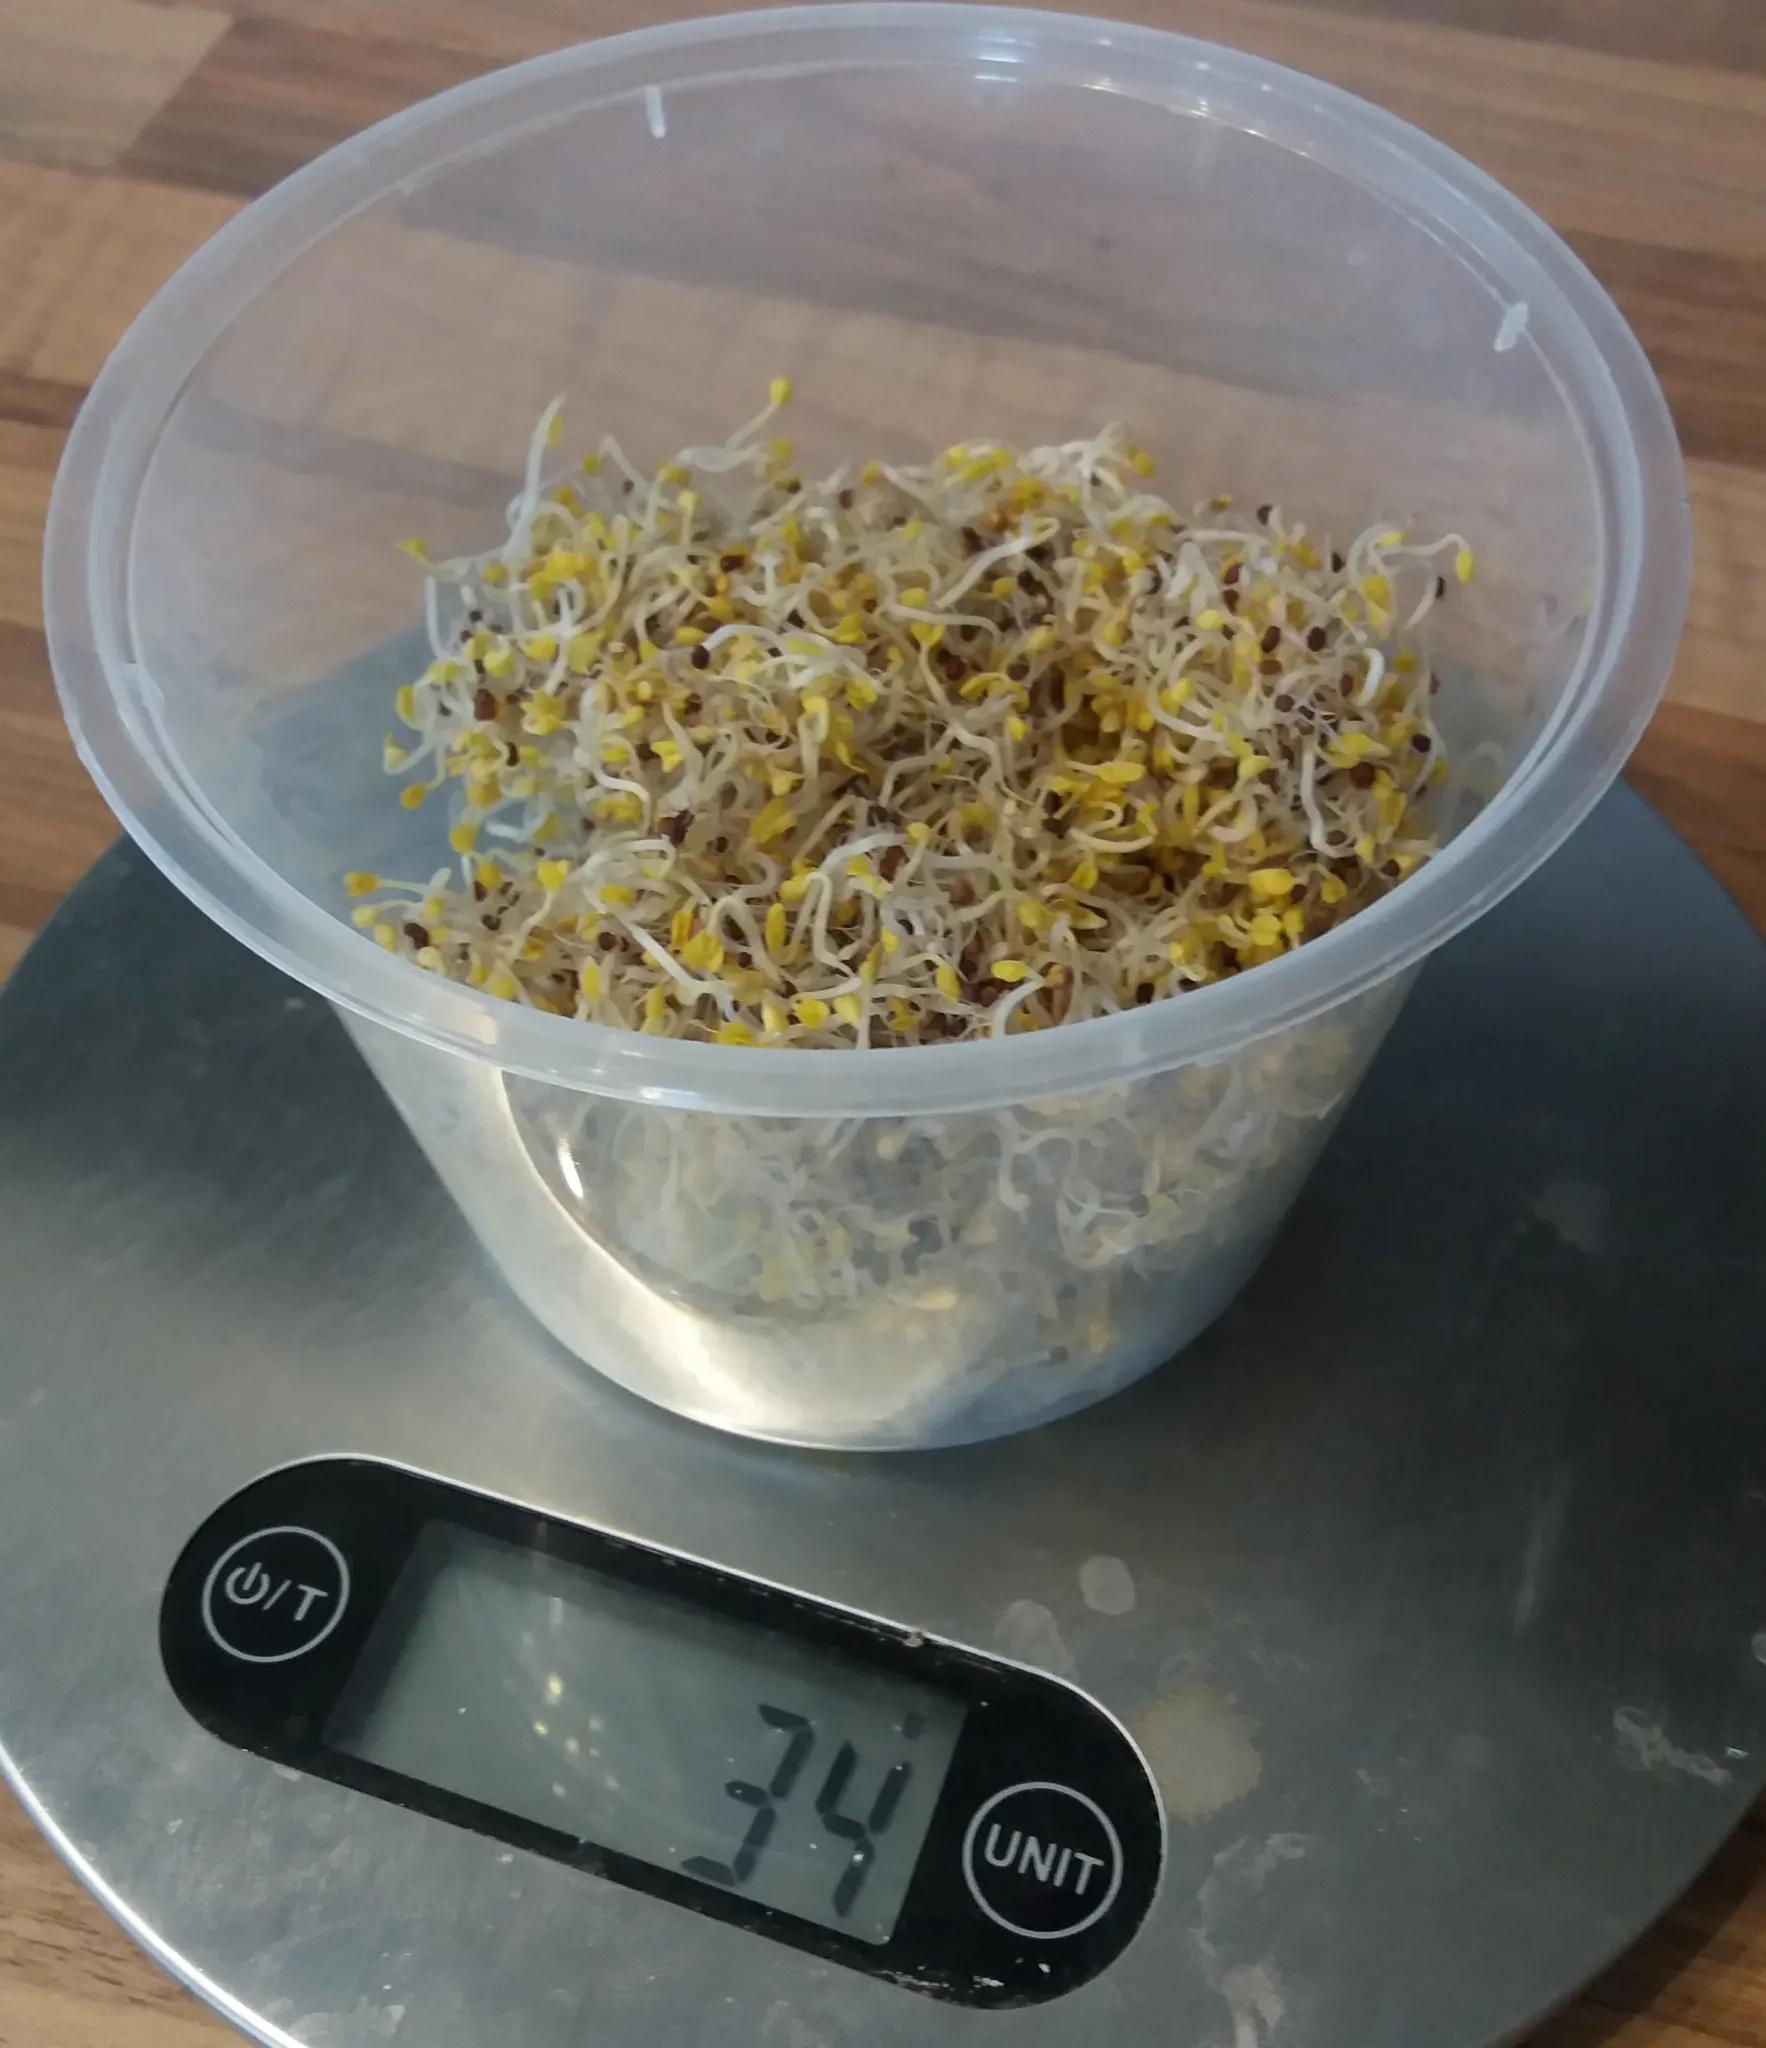
They ended up weighing 34 grams, so another consideration is how much do you plan to eat, because it’s the same amount of effort however many portions you make. That will determine how big a jar you buy and how much seed you use each time.
Preparing the seeds to grow
Back to the process: put your seeds in the jar, fill it with water, and leave it in a warm, dry place for 12 hours. Make sure everything is clean because you’re basically creating ideal conditions for something to grow. Be sure to wash your hands and don’t contaminate your sprouts. For the same reason the cupboard should be quite clean too.
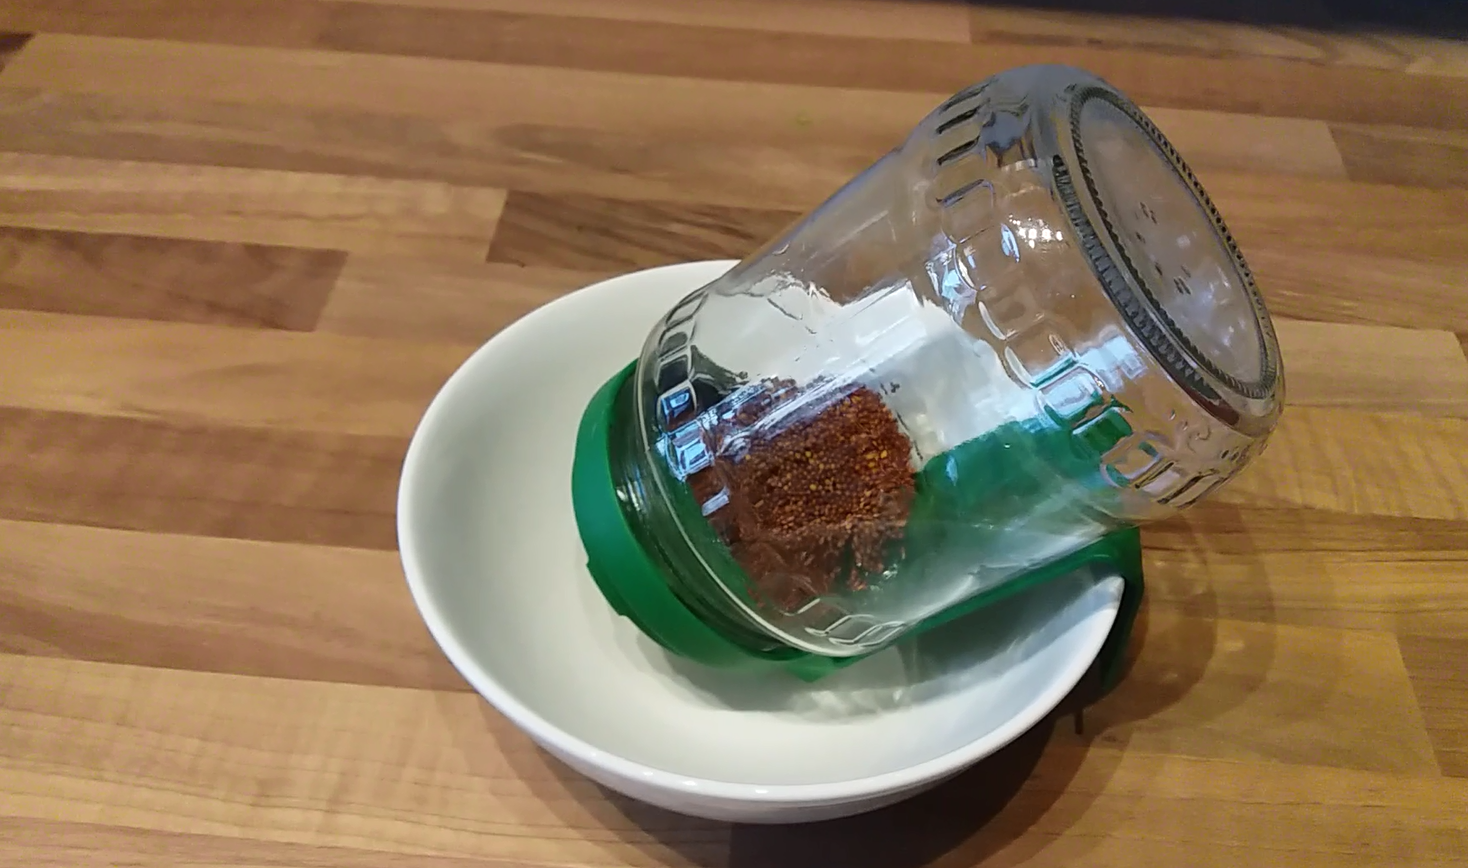
After 12 hours you drain all the water out, so your sprouts should be moist but not sitting in a pool of water. If you have a sprouting jar you then turn it upside down in a bowl to allow extra water to run off, and put it back in the cupboard. Then it’s nice and simple, every 12 hours you take them out, add water, then drain them a minute later. So you’re exposing them to water but you don’t want them sitting in water.
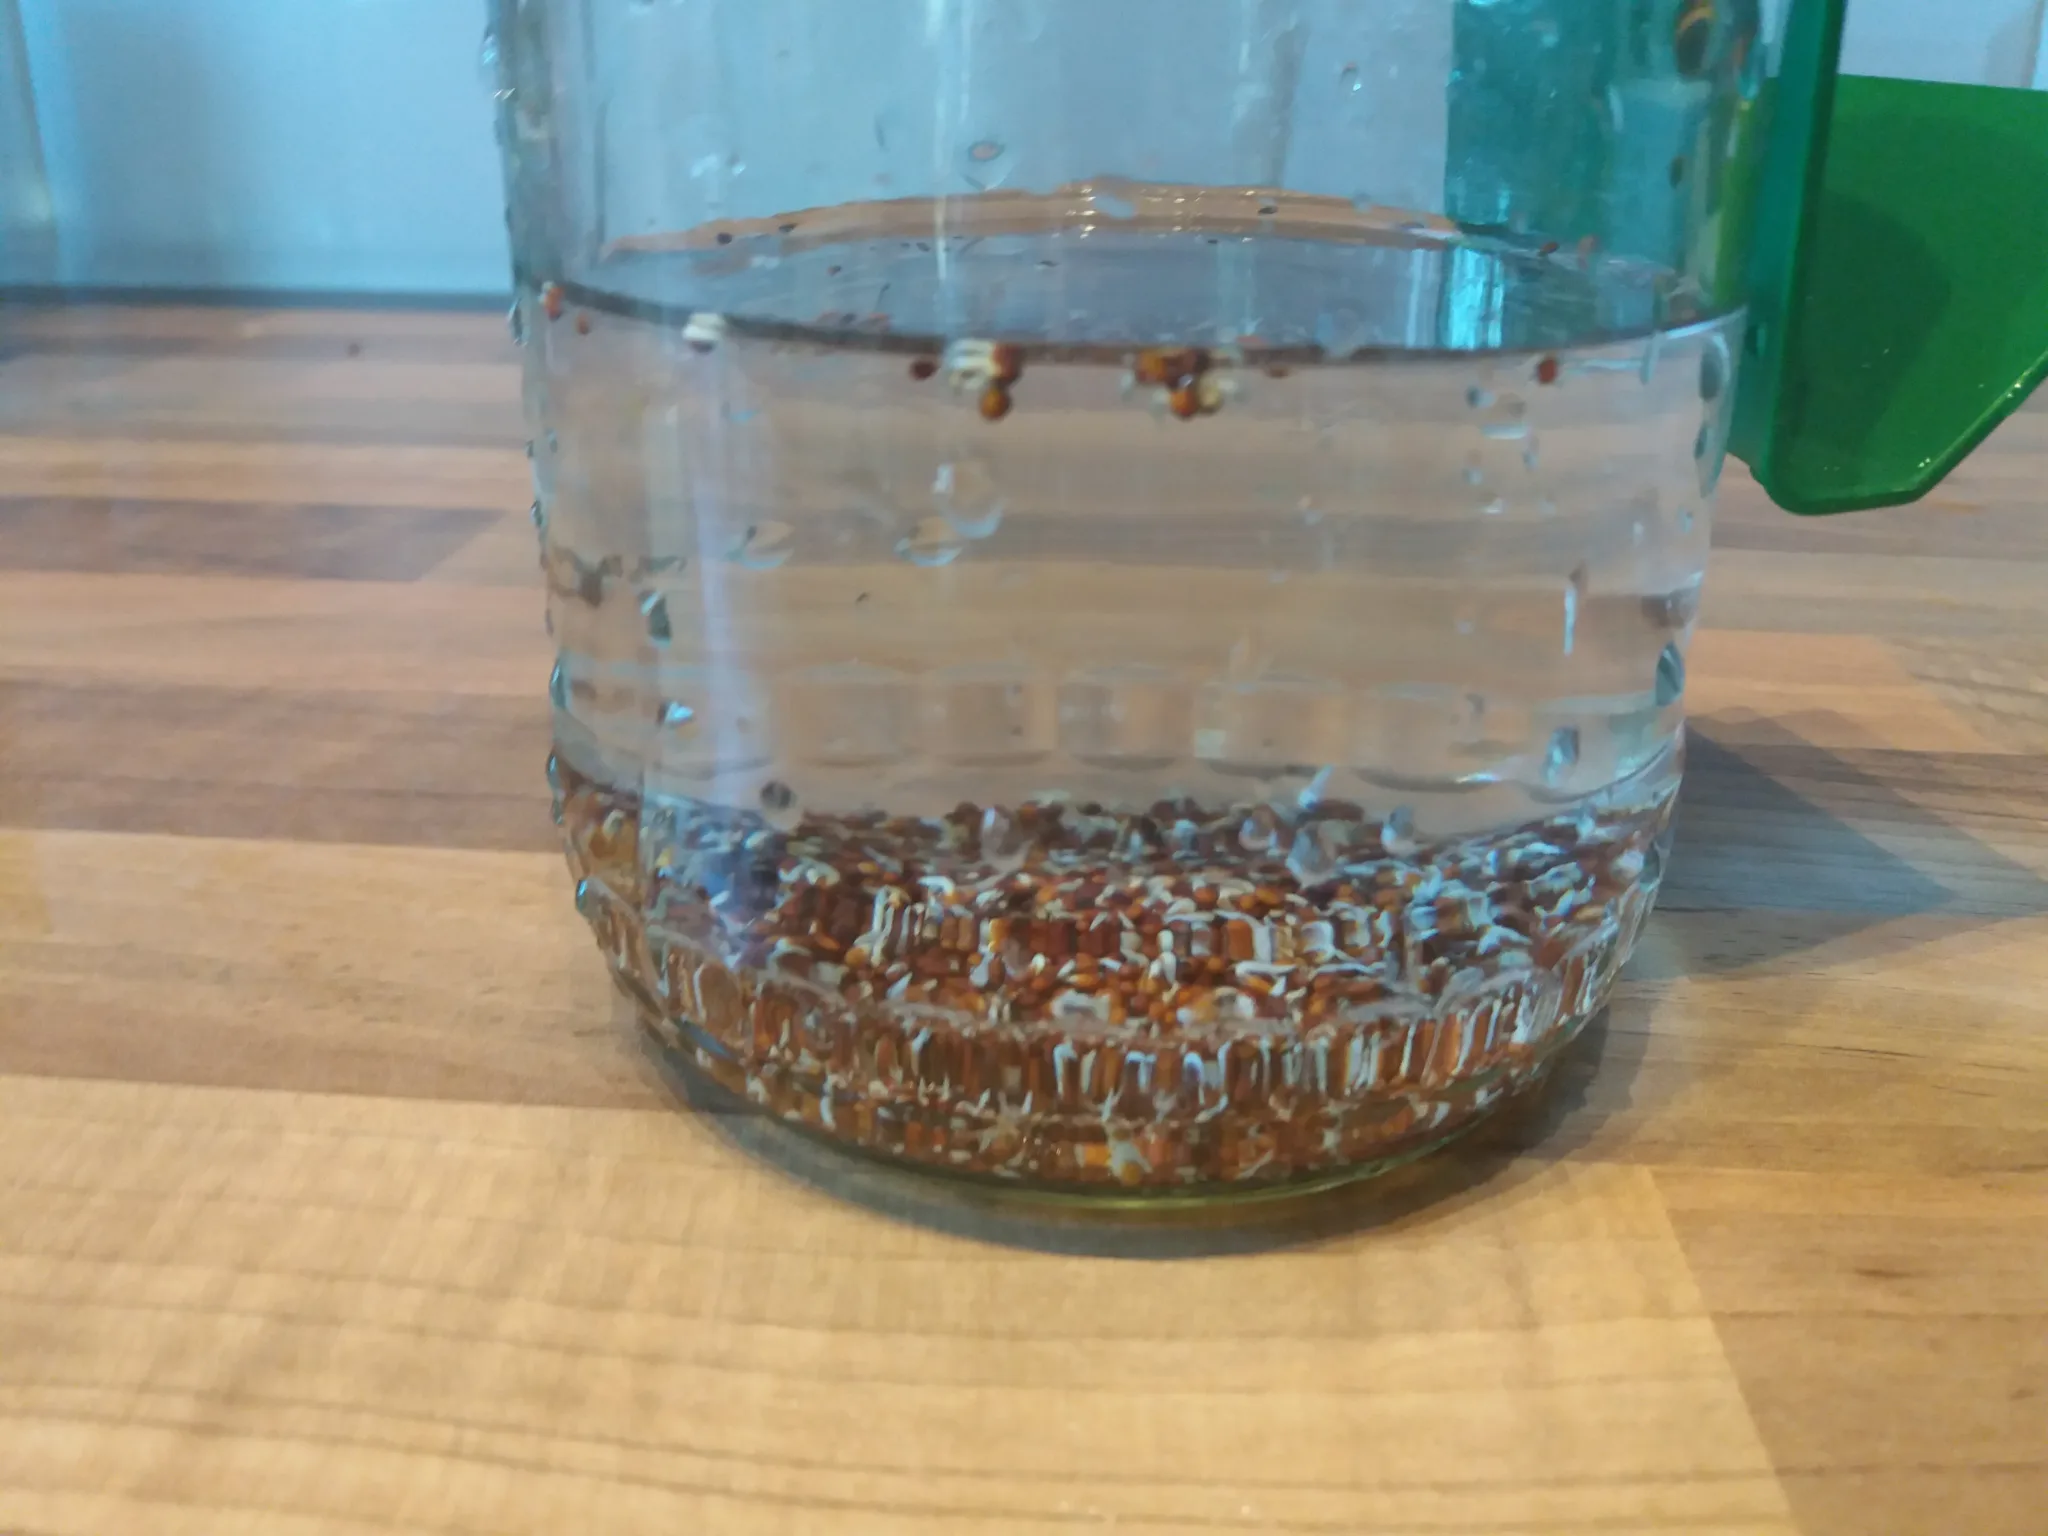
I set an alarm because I forgot my first batch. I recommend making one of the two times of day your breakfast time, because you’re in the kitchen already. For example, I did 8am and 8pm every day.
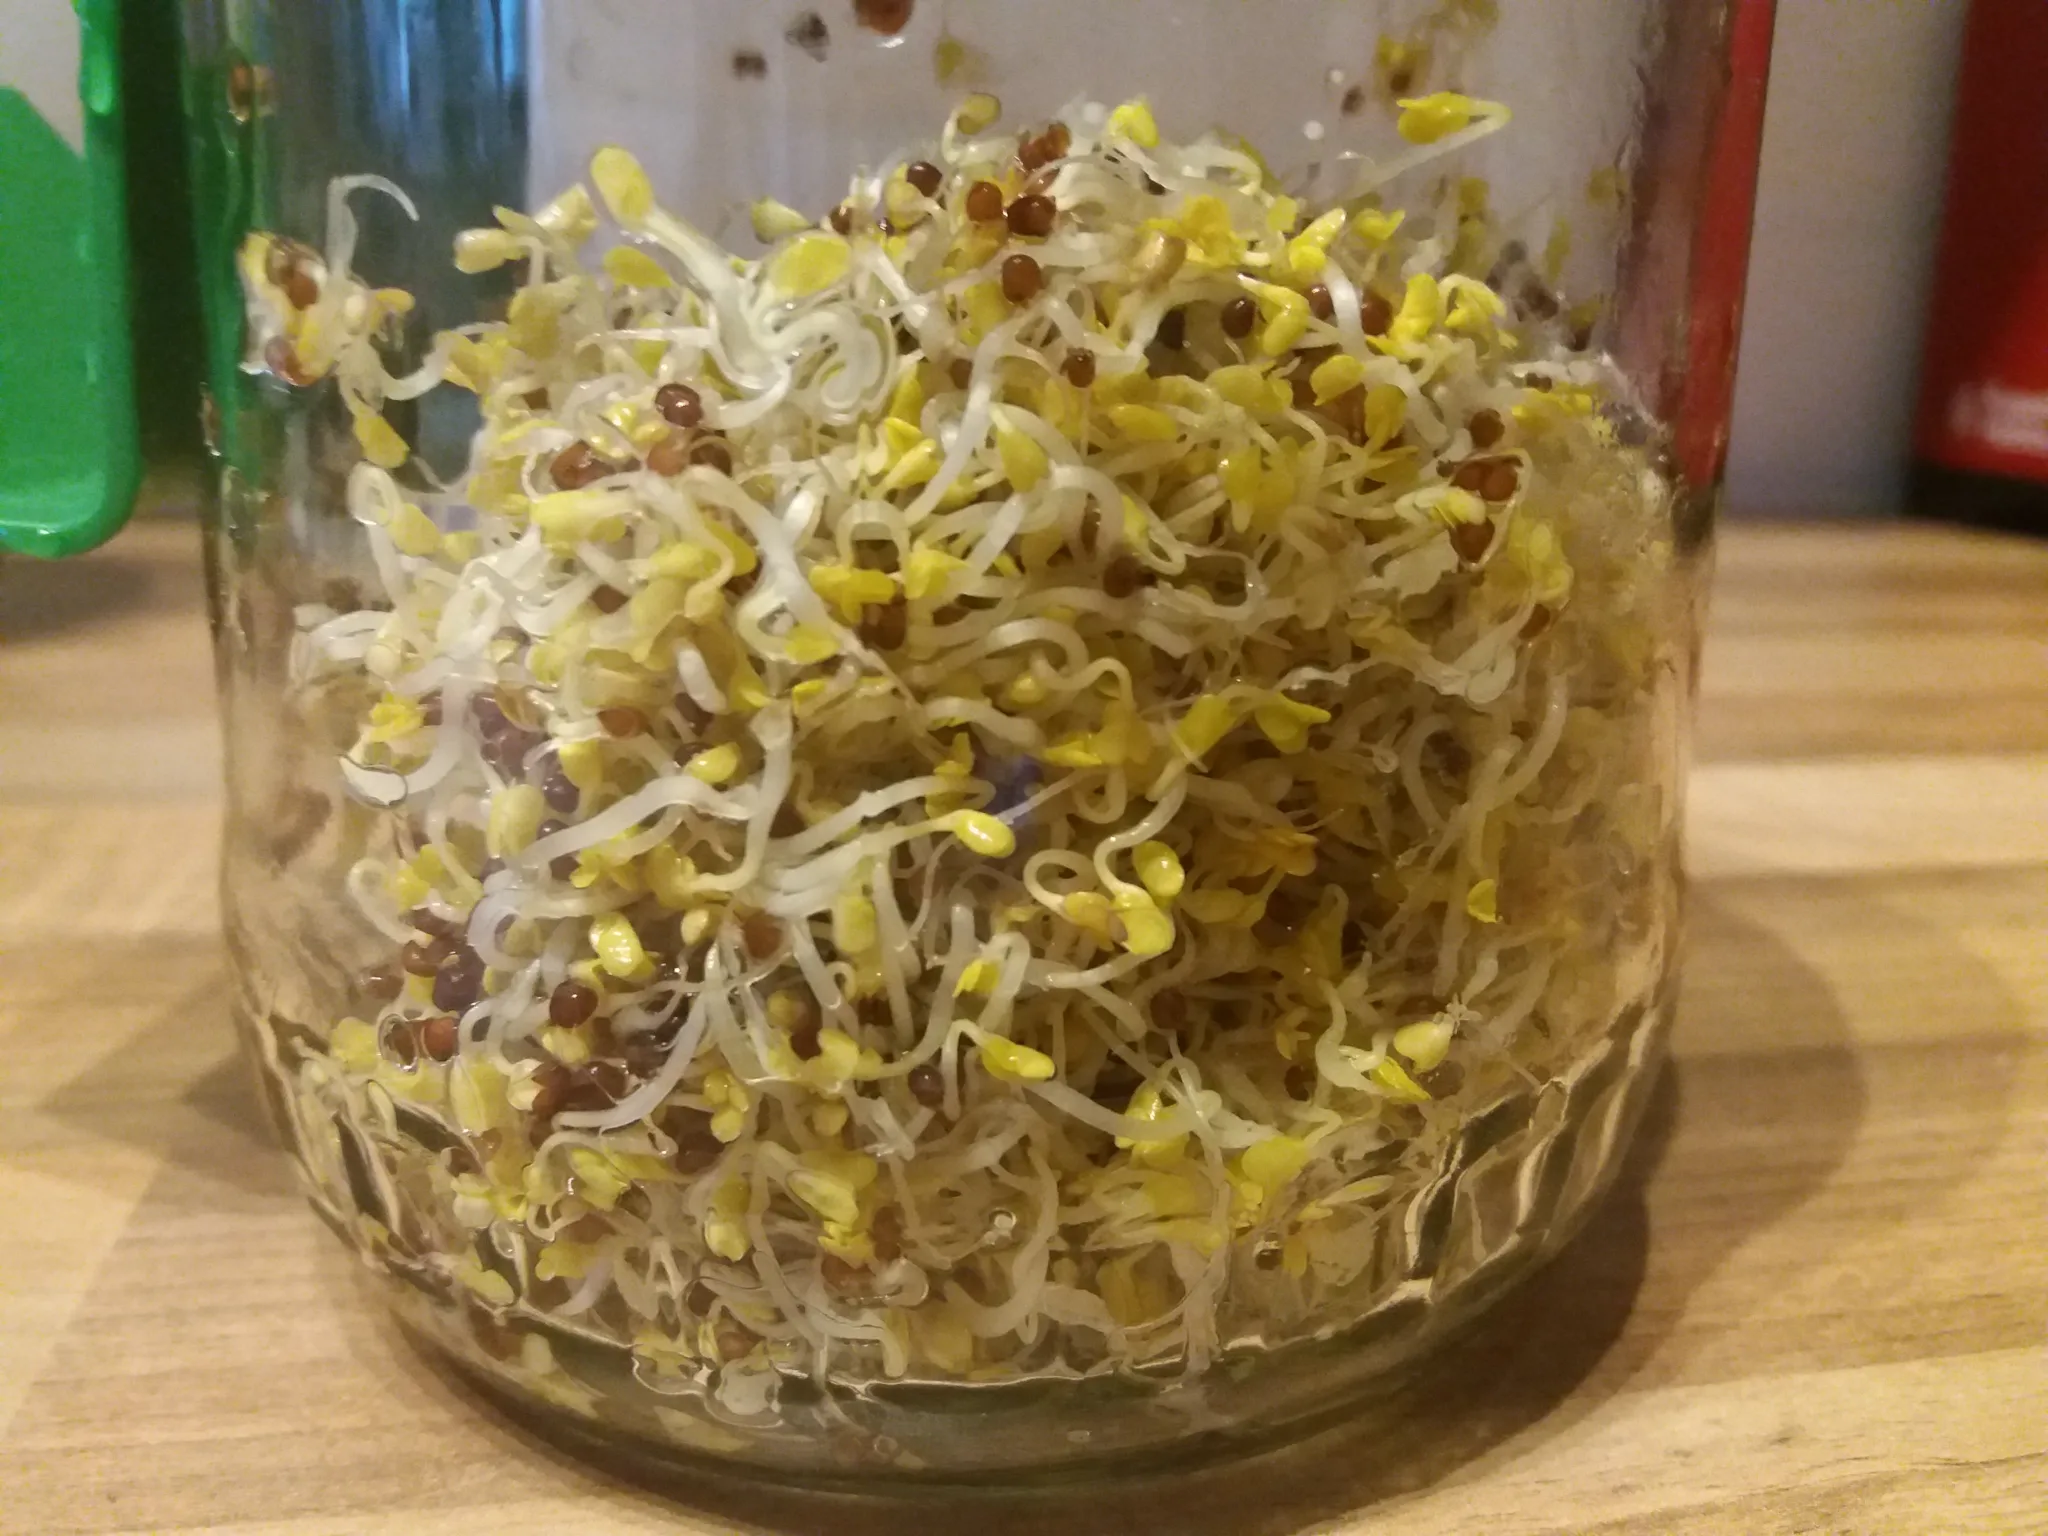
On the second day I came across something nobody mentioned, which was fluff appearing on them. I thought this was mould, but it’s just little hairs the sprouts create because they are trying to maximise water intake. You’ll know it’s little hairs and not mould if they disappear as soon as you add water.
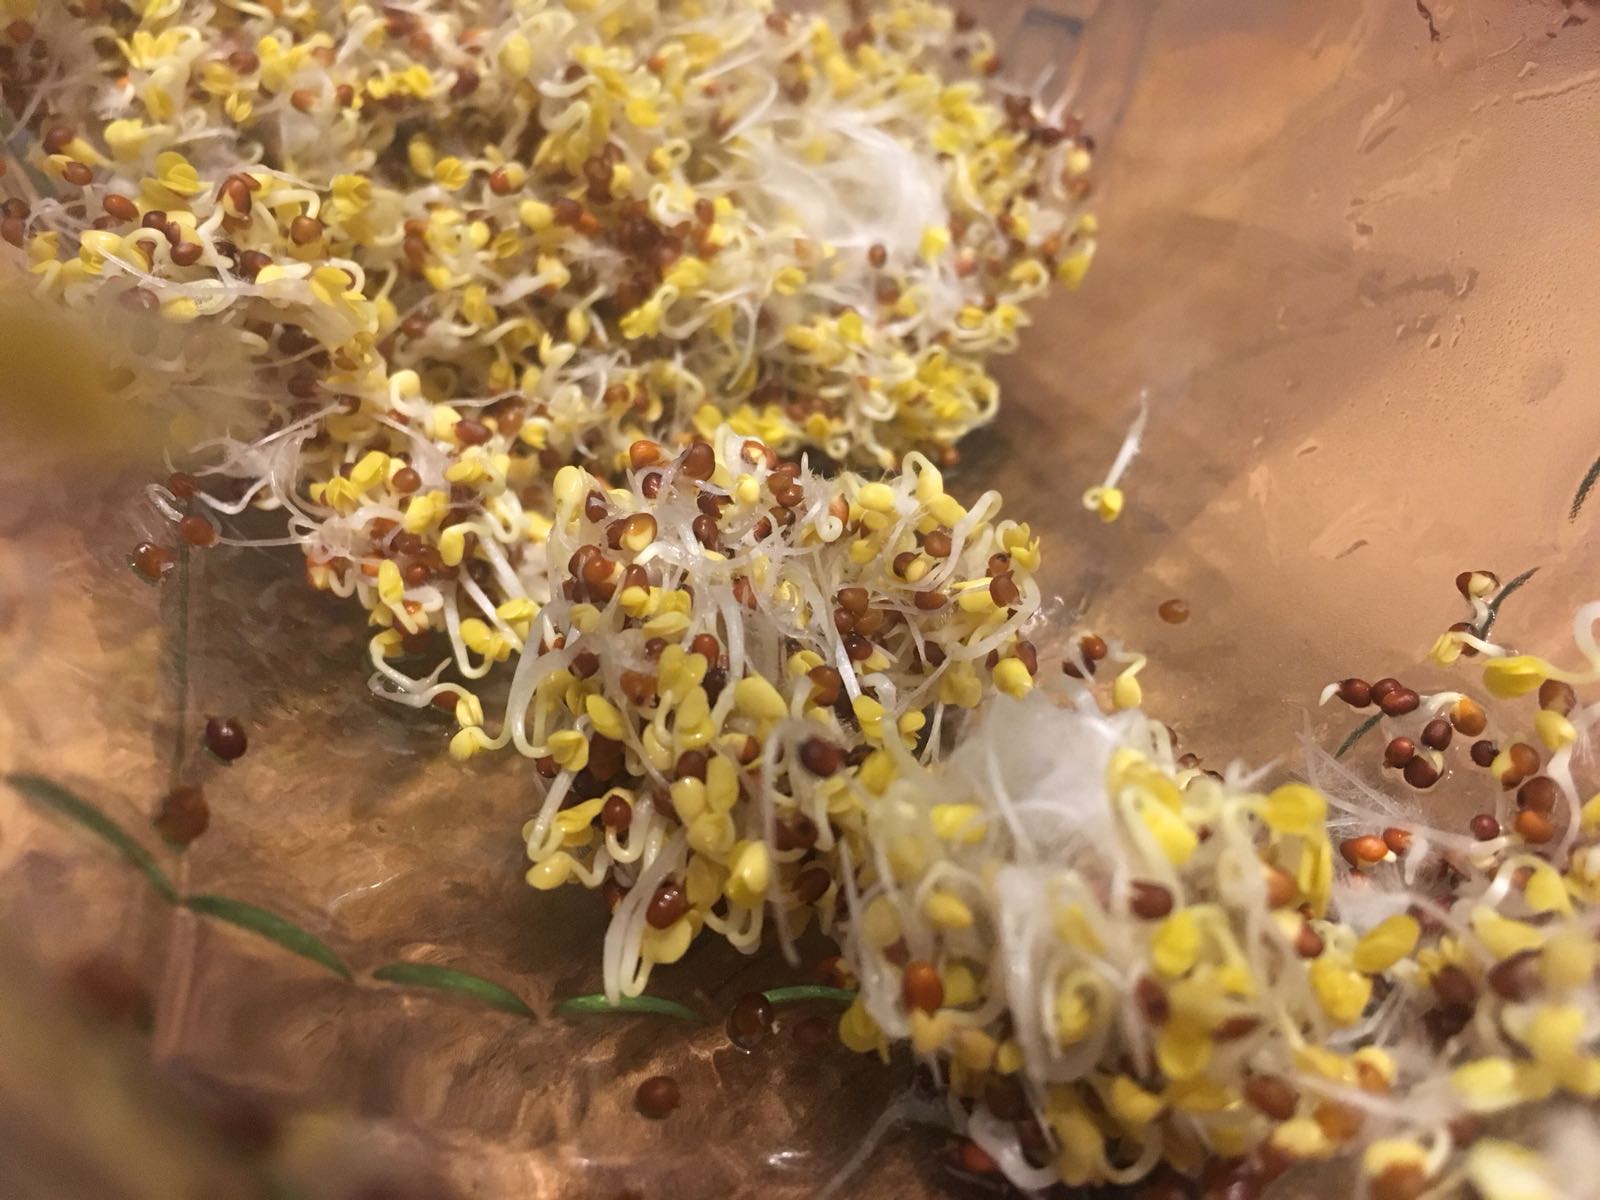
Five days after I started, so 4 ½ days after the long soak, they were ready. The first time I left them for 7 days but they didn’t look any different in the final 48 hours.
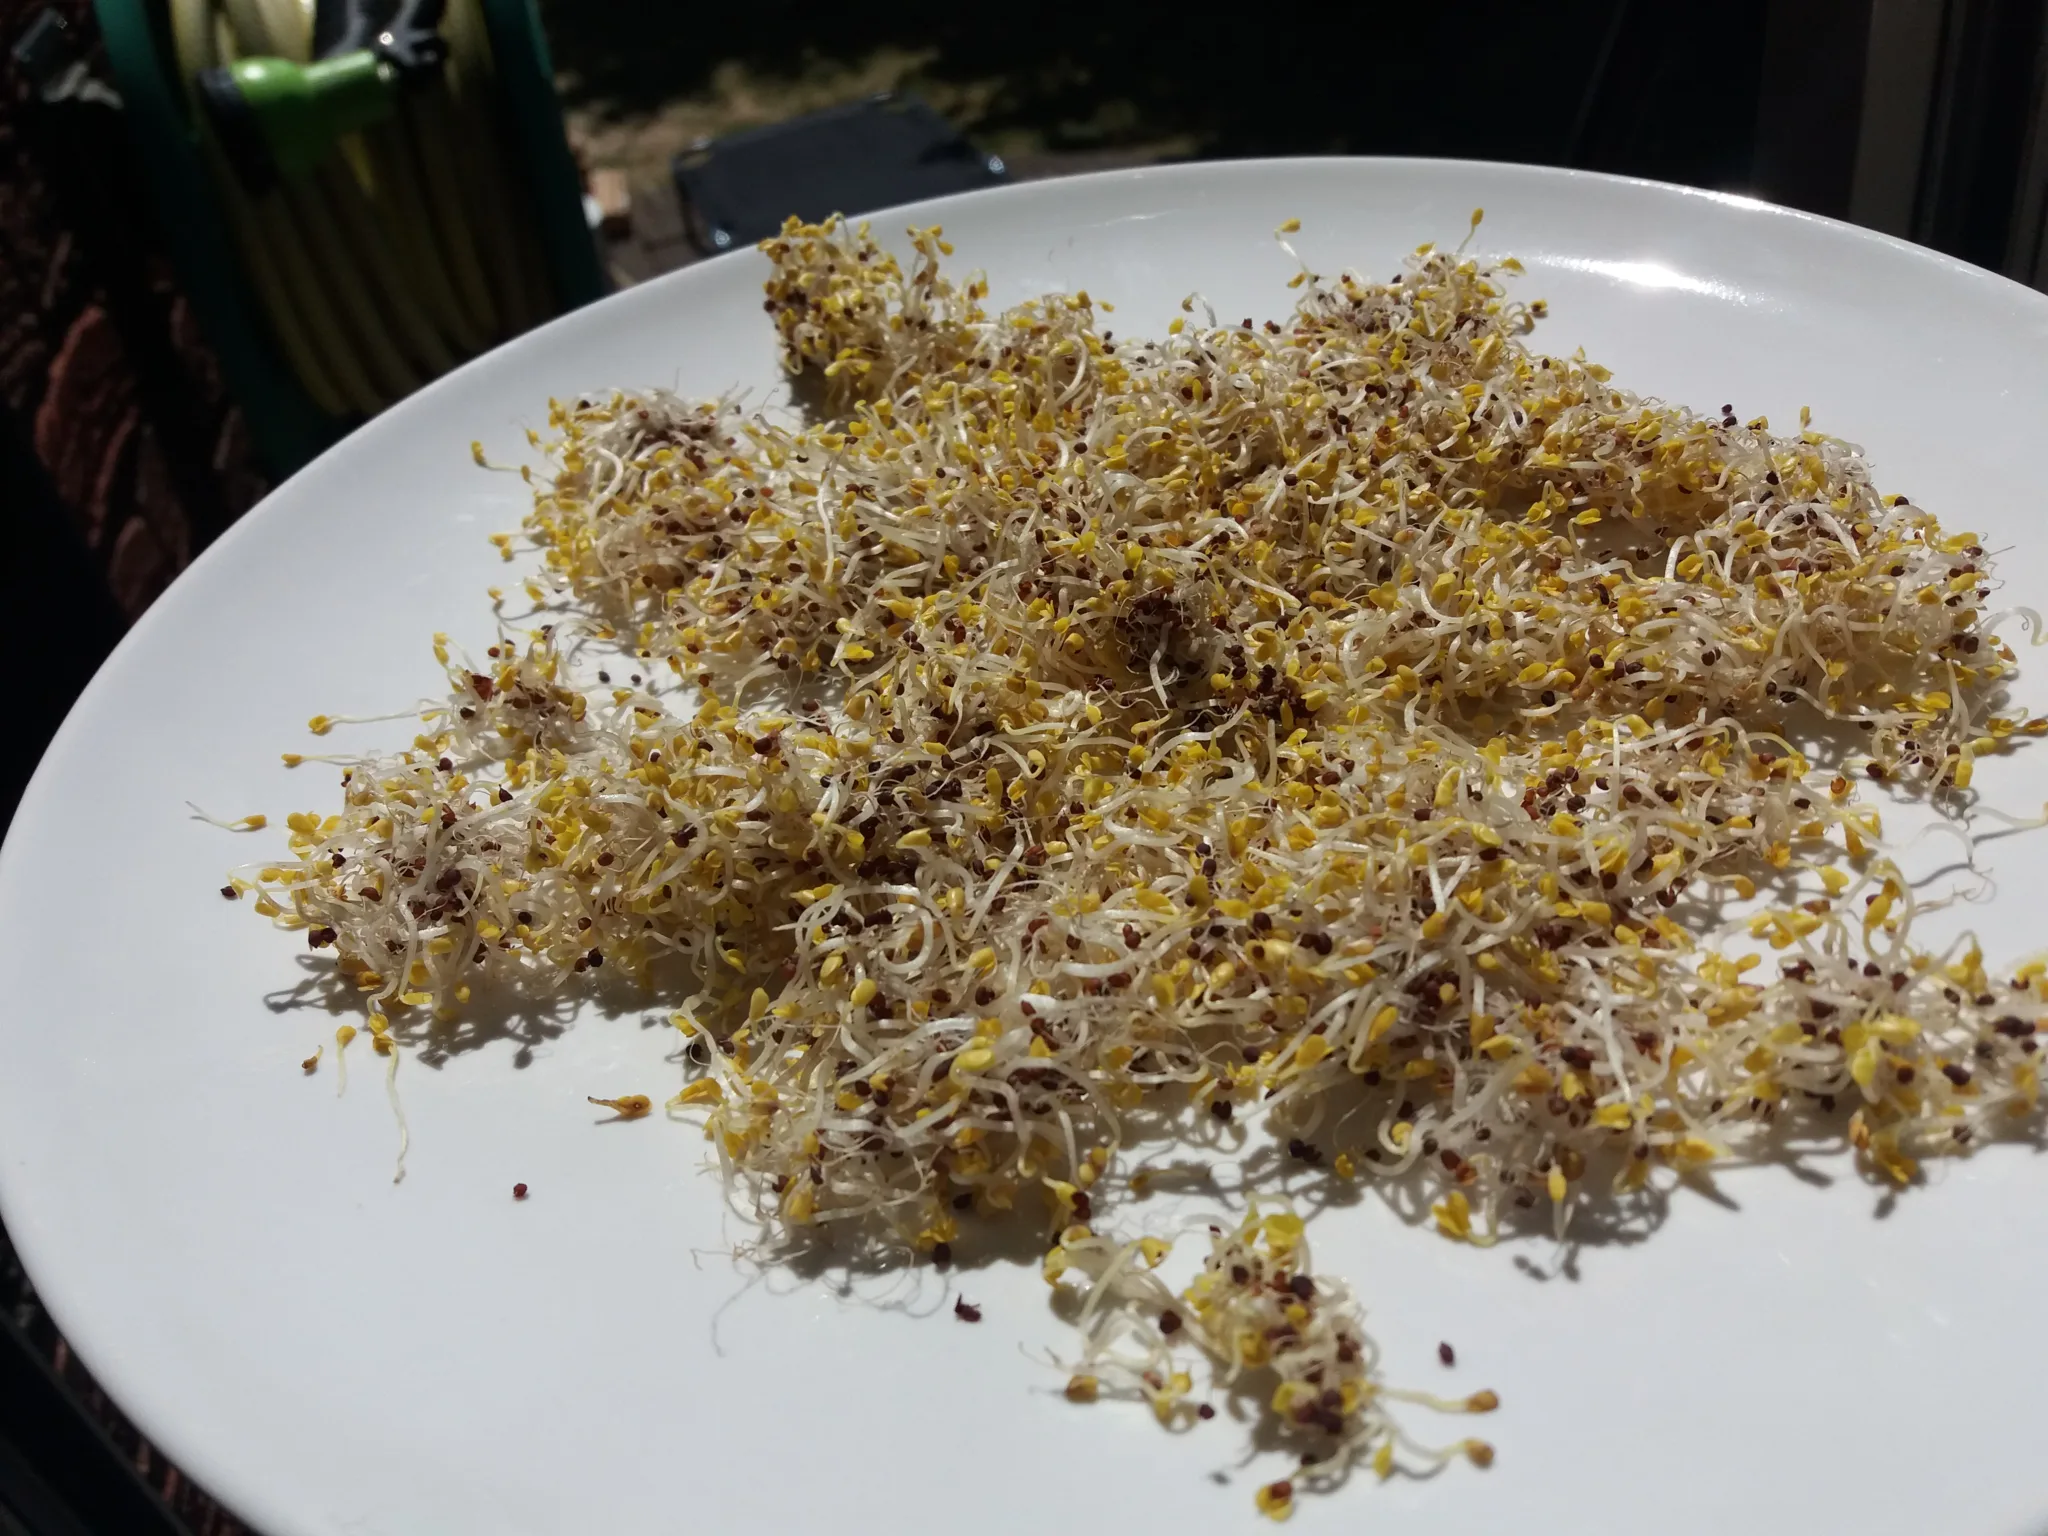
On the morning of day 5 I didn’t rinse them, because you need to dry them out for storage. I spread them on a plate and put them in my conservatory to dry. This process took about an hour, and I flipped them halfway.
Preparing the sprouts to eat
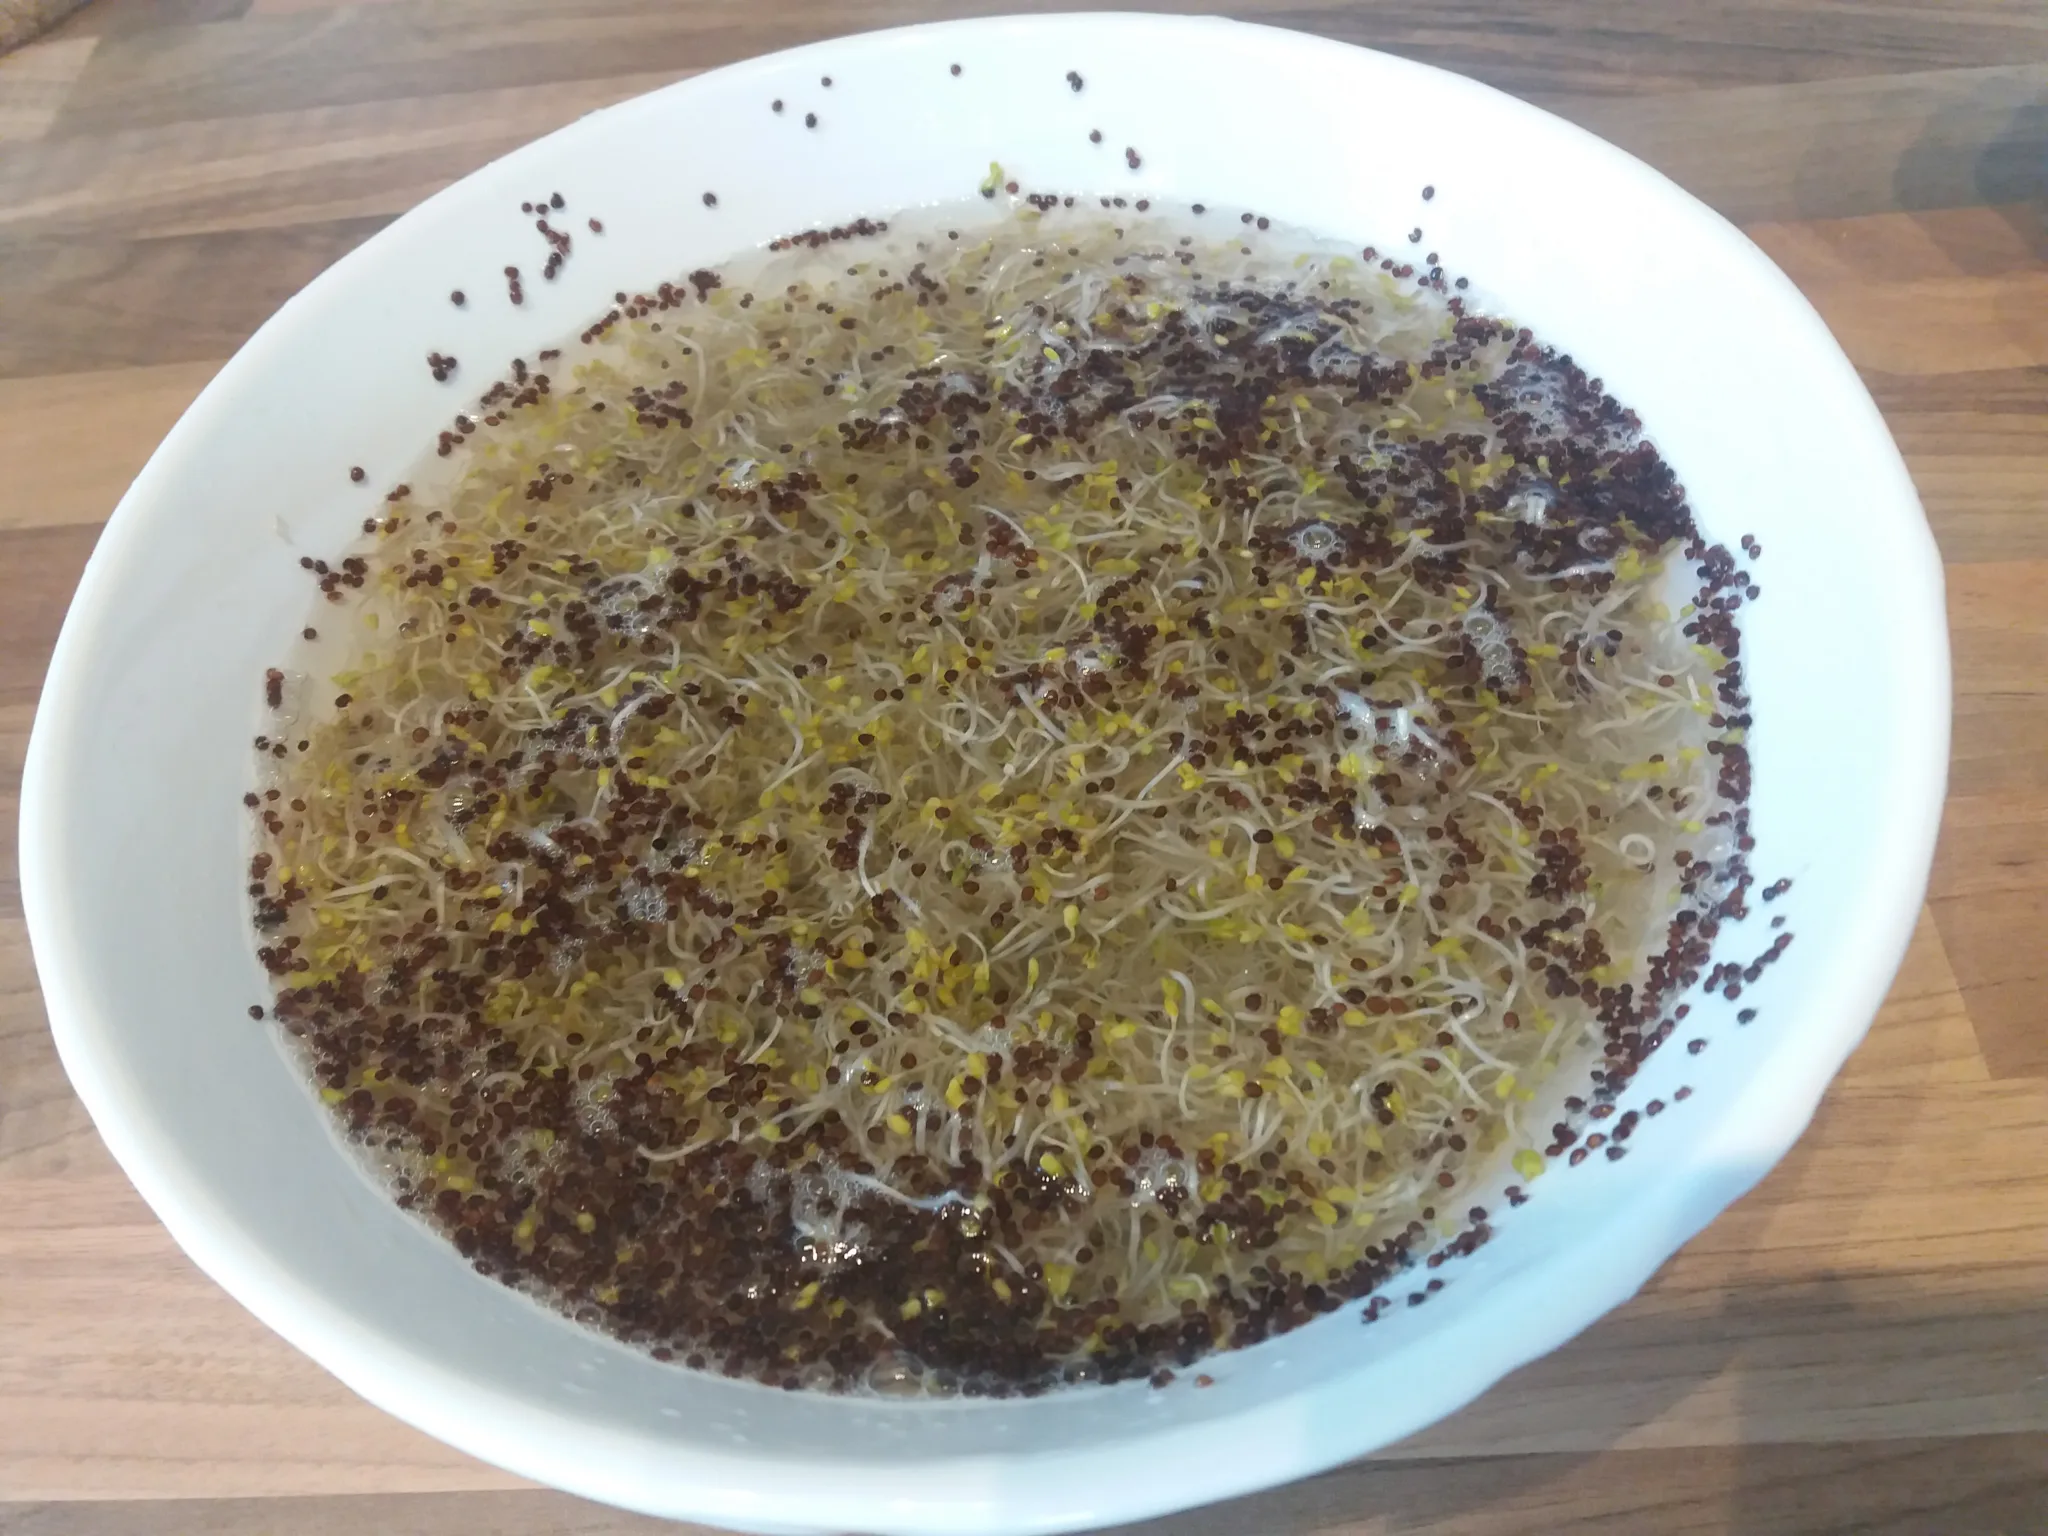
Before you eat them you need to remove the little seed shells and unless you’re particularly anal you won’t get every last seed. A good method is putting them in a bowl of water and giving them a little swirl because the seeds float to the top and you can fish them out.
This was super messy the first time round and I tried to dry them out again after separating the seed shells which was a real pain. My strategy now as a fully fledged expert is to put one portion in a bowl of hot water and separate them just before I plan to eat them. The research says you can triple the bio-availability by heating them for 10 minutes at 60-70 degrees Celsius, meaning your body absorbs the sulforaphane more easily.
Two more points, they smell “musty” even when they’re fresh, that’s normal and they haven’t gone off. I put mine in a little Tupperware pot and they’d gone off after 4 days in the fridge, so when people say they last “up to a week”, that doesn’t mean “a week”.
I think another strategy could be to freeze them which would be more appropriate if you plan to use them in a smoothie, but I haven’t got that far yet.
Summary
- Using 12 grams of seeds will fill a pint glass, bear that in mind when selecting starting amounts
- Place the seeds in a sprouting jar and fill it with water, leaving it for 12 hours to soak
- Once 12 hours pass, drain the water and place the jar at a downward angle to allow extra water to run off
- Store the jar in a warm, dry location like a cupboard. Ensure it’s clean as contamination is easy.
- After a further 12 hours (24 hours after starting) fill it with water for 1-2 minutes, drain and place the jar at a downward angle to allow extra water to run off
- Repeat this process until 5-6 days have elapsed since they first entered the jar
- Do not give them a final soak, as you will need them to dry out now
- Spread them out on a plate, possibly pat dry with kitchen towel, and place them in direct sunlight for 30-45 minutes or the best place you can find for them to dry out
- Once dry, store in a container in the fridge for up to a week (they may go off sooner!)
- When you need a portion, soak them in hot water (not boiling) for 10 minutes. This triples the bio-availability meaning they are far more beneficial for you. Use this 10 minutes to remove as many loose hulls as you can.

