

As someone who worked for an at-home blood testing company, I’ve seen just how many people struggle with a finger prick blood test. The two main reasons they fail are 1) not getting enough blood 2) red blood cells bursting (known as haemolysis).
I’ve also tested a lot on myself, and having failed my first few attempts I’ve now completed around 25 tests without a failure. In this article I will outline 12 tips to give you the best chance of a successful finger prick blood test.
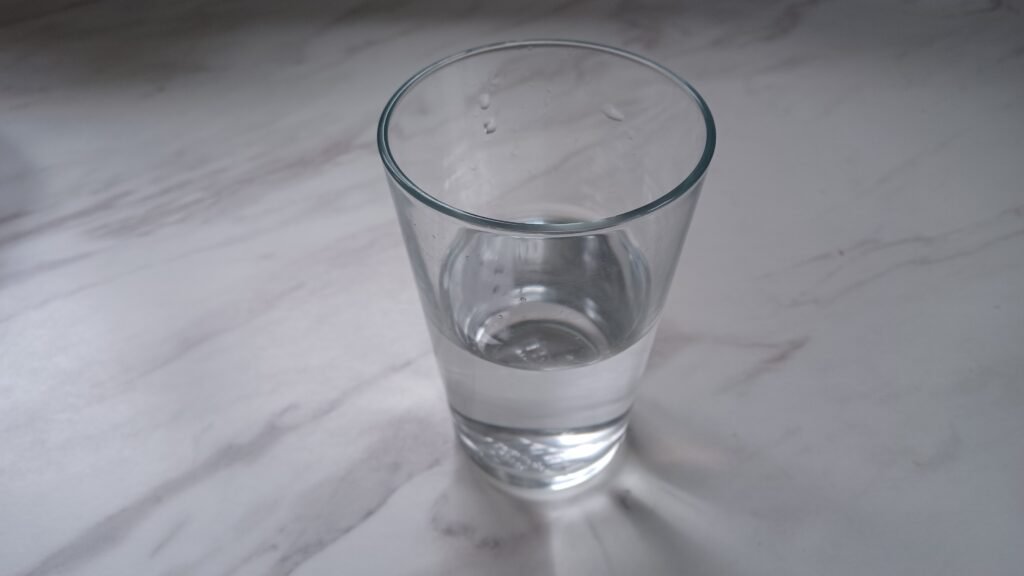
Tip 1 – Hydration is Key
Preparing for an at-home blood test can sometimes start the previous day. Ensuring you go to bed sufficiently hydrated will save you consuming the often instructed 2 glasses of water 30 minutes before the test. You can gauge how dehydrated you are by your morning bathroom visit and whether your fluids need topping up. I often rely on a single glass of water 10-15 minutes before the test.
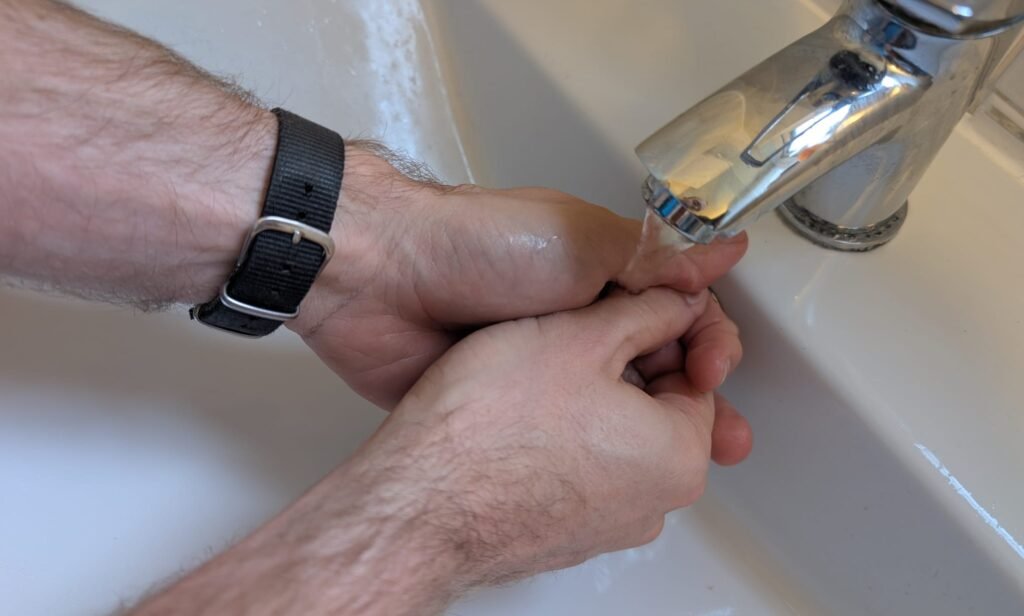
Tip 2 – Warm Your Hands
For me the single most important factor in a successful sample is having warm hands when I do the test. The most common advice given in instruction manuals is to place the hand in a container of warm water. There are three drawbacks to this:
- The longer you wait, the closer the water is to returning to room temperature
- Your hand will cool the water immediately around the skin, forming a barrier from the hottest water
- Your other hand will be in contact with the warm hand, leading to increased cooling if it isn’t also warm
That’s why my favourite method is to warm both hands under running water. This ensures a constant temperature and doesn’t allow time for a cooling barrier to form. To avoid contamination, it’s a great opportunity to wash your hands too.
Tip 3 – Keep Them Warm
It really doesn’t take long for a pair of lovely warm hands to lose most of their heat. Being prepared by laying the test out in advance will help, but it’s also important to wear suitable clothing. Remember that the blood is constantly circulating in and out of your hands, so retain heat as best you can by wearing a long sleeved top when you do the test.
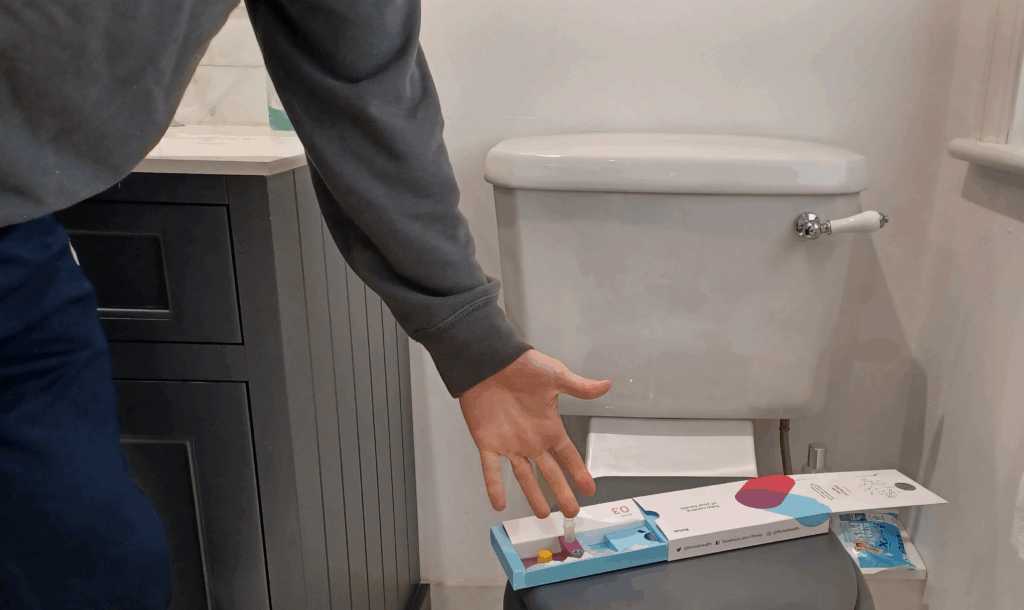
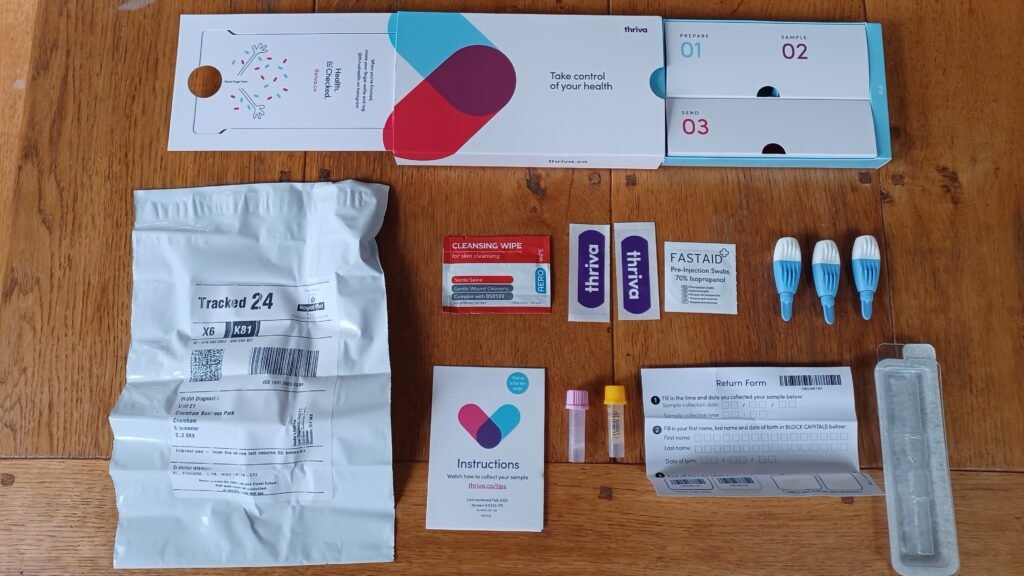
Tip 4 – Lay Out The Test In Advance
I know the instructions can be tedious but it’s vital to know in advance what you have to do so time isn’t lost reading the instructions as you go. Once the hands are warm the testing procedure might look like this:
- Dry your hands
- Use an alcohol wipe on the desired finger
- Wait for the area to dry
- Prick your finger with a lancet
- Wipe the first drop of blood away with tissue paper
- Let the blood drip into the tube
If you have multiple tubes, there is a certain order in which they should be filled. You may also have to invert the completed first tube or swirl the blood immediately. Failure to do so may reduce the likelihood of a successful sample. Try to have all the necessary items laid out before you begin.
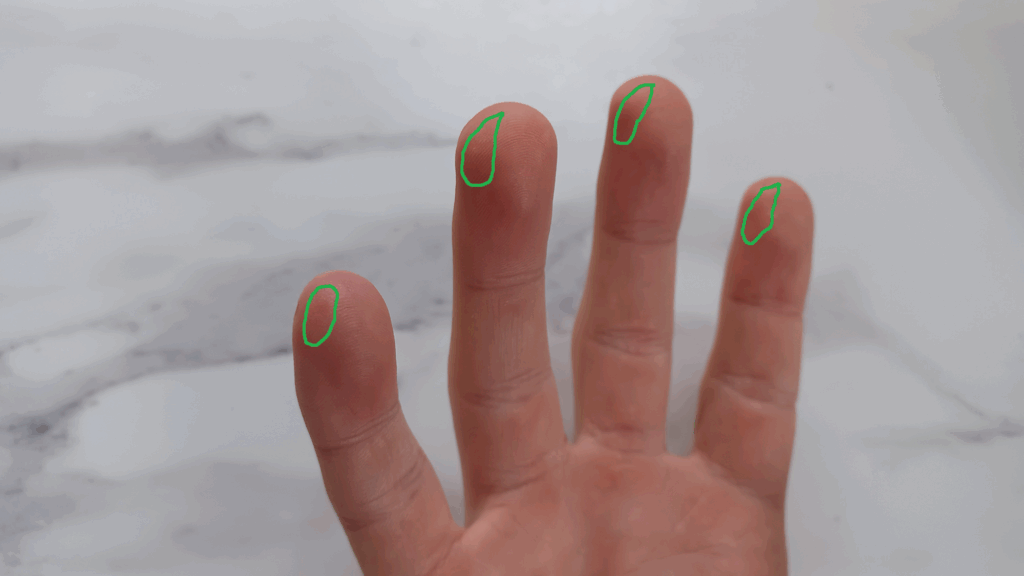
Tip 5 – Location, Location, Location
The exact location of the finger prick really makes a difference. Too close to the nail bed and the blood will likely pool under the nail. Certain parts of your finger also make it harder to get the blood into the tube. Here is a diagram of the optimal location for finger prick lancets.
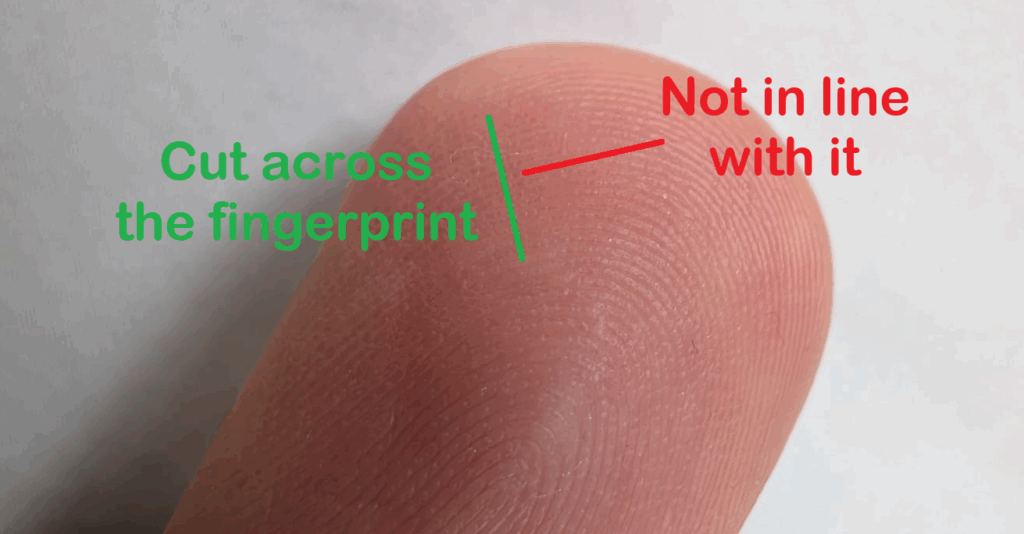
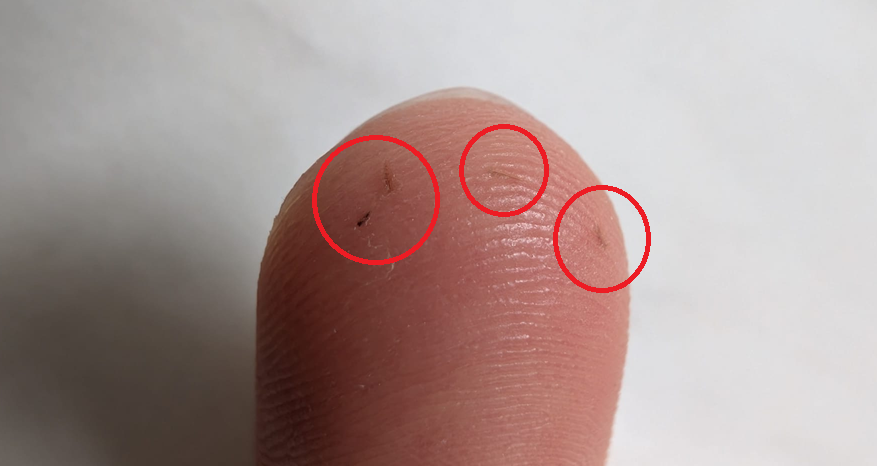
Tip 6 – Cut Across Your Fingerprint
The lancet is not always a single point, and quite often creates a very small cut on your finger. Examine the lancet beforehand, and if it’s clear what direction the cut will be, ensure that you cut across your fingerprint and not in line with it. It also helps to rest your hand on a surface when using the lancet. By cutting across the fingerprint, the blood forms a nice droplet, otherwise it may run down the grooves in a messy fashion.
Tip 7 – Wipe The First Drop Firmly
This is the opposite of how you would normally treat a wound. In this case you want to disturb the injured finger in order to encourage blood flow. Being quite aggressive when wiping the first drop of blood can stimulate a healthy blood flow. I find tissue paper too soft so I opt for kitchen towel or toilet paper when wiping the first drop.

Tip 8 – Do Not Touch The Bleeding Finger
In my experience, this is one of the most common ways to have a sample that fails at the lab. I will occasionally massage my hand to get the very first drop going, but after that it’s hands off! The easiest way to guarantee you aren’t massaging your finger too hard is to not touch it at all. If you follow the other tips then blood flow should hopefully not be as much of an issue, meaning “encouraging” the flow isn’t required.
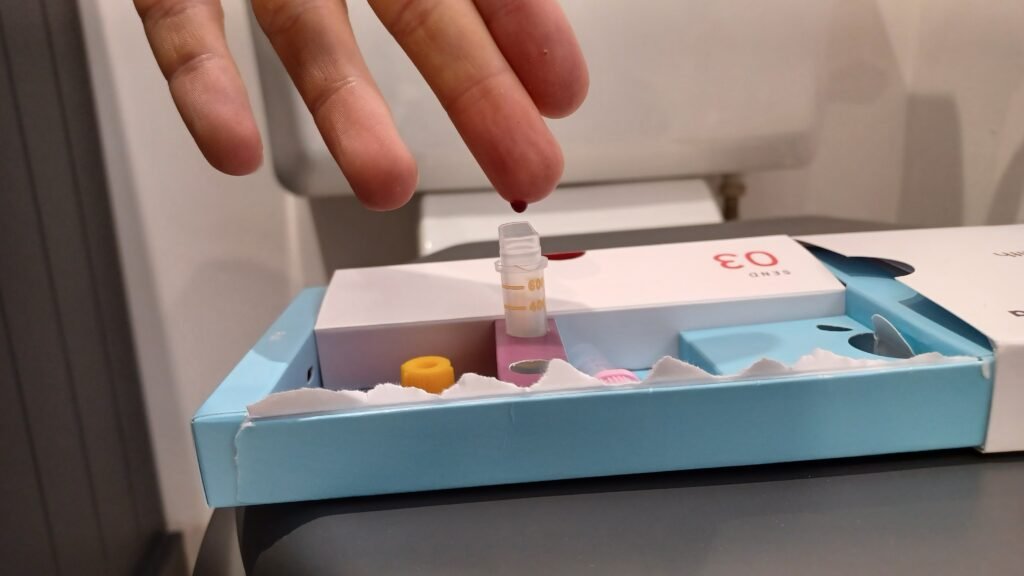
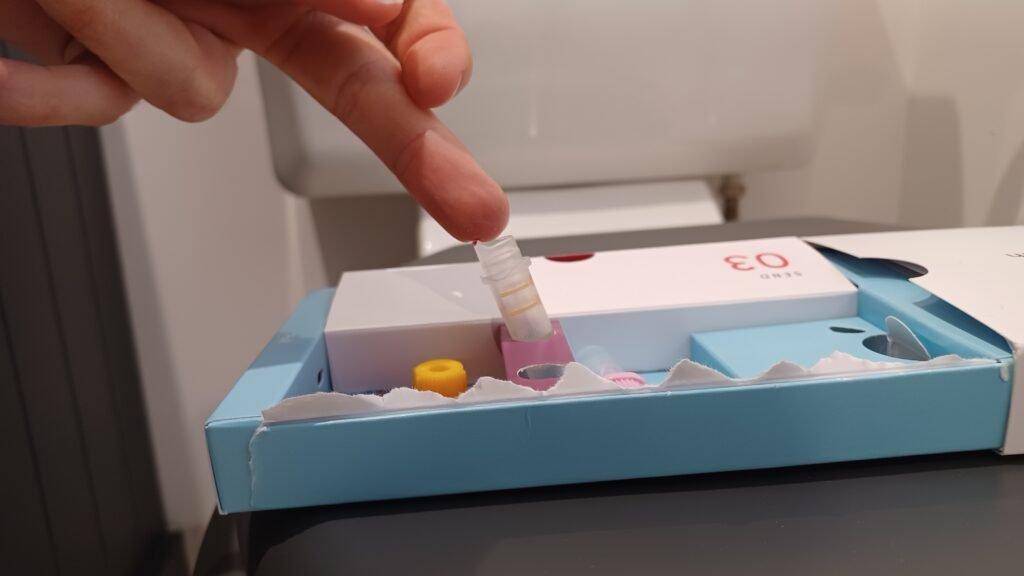
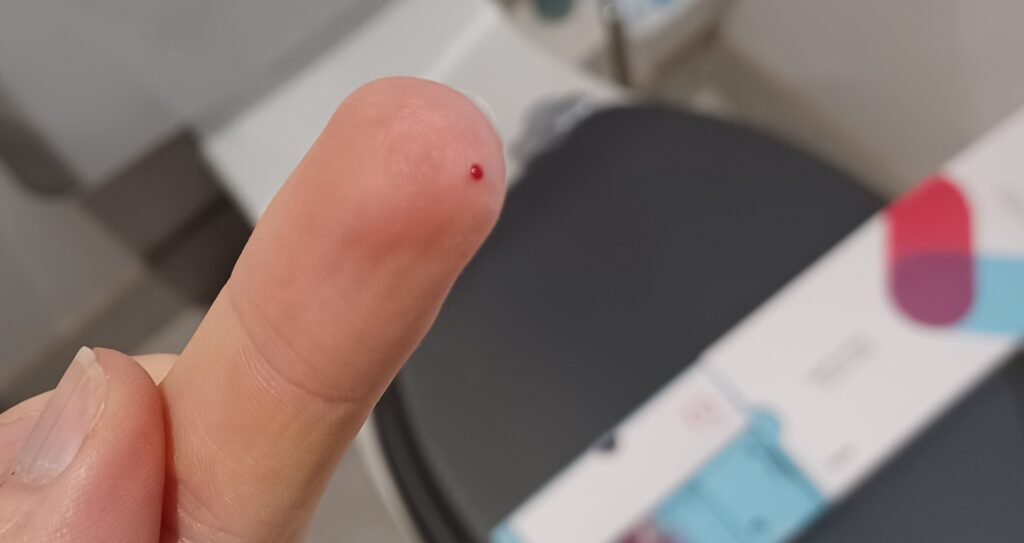
Tip 9 – Do Not Scrape Blood Into The Tube
It can be very tempting to scrape a half drop of blood from your finger in an effort to reach the desired line. However, this can cause red blood cells to burst, leading to the dreaded haemolysis failure. You’re also sabotaging one of your biggest allies in sample collection – gravity. The weight of the existing blood will help a droplet form fully, and even then it’s best to let it naturally drip into the tube rather than pressing it against the side.
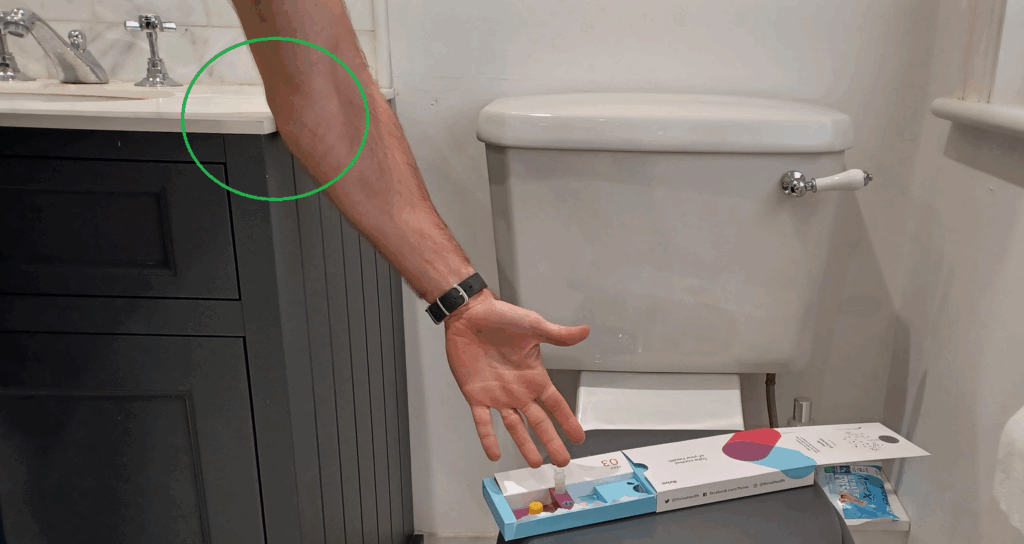
Tip 10 – Steady The Arm
It’s surprisingly difficult to hold your arm perfectly still while dripping blood into a tube that’s only 10mm wide. Each drop is so precious that it’s really disheartening to lose a stray drop on a work surface because you moved a little. Try to position your kit so that you can steady your arm on a wall or other object for increased accuracy.
Tip 11 – Beware The Callous
If you’re reading this as a veteran of blood sample collection, you may have another problem to deal with. Callouses (hardened skin) are a real issue with finger prick lancets, especially given the limited locations and potential for multiple lancets per blood test.
Be mindful of which fingers you’ve used recently, and try to vary location while staying within the rules of optimal placement. A real game changer for me has been the little finger. It hurts a little bit more but I couldn’t believe how much blood would flow out of it the first few times.
Tip 12 – If Blood Flow Stops, Wipe It Again
Too often people will switch to another finger or try to re-warm the hand when blood flow stops. A better approach is to take some toilet paper and aggressively wipe the wound again. More than half the time I find this initiates blood flow again, often saving me from using another lancet.
In fact, here’s what my collection of unused lancets look like since I started testing. You’re given three lancets per test and thanks to my collection method I quite often only need the one.

Bonus Tip – Don’t Be Disheartened
The number of times in my early blood testing journey I felt I did everything right, only to get a single drop of blood (or less!) really surprised me. What I know now from years of experience is that the difference between a single drop of blood and 20 drops is really, really small.
Maybe the pressure you applied wasn’t right, or the angle a little off, or maybe your hands aren’t quite warm enough. Whatever it is, don’t give up. Even if it means three failed attempts and a request for another test kit. It can seem incredibly daunting to fill an entire tube when you’re barely able to get a drop, but when things fall right for you and it flows nicely it’s over in minutes.
I hope you’ve found these tips useful and they help you to complete a successful at-home blood test. These tips were not exhaustive, so remember to follow additional guidelines outlined in the instruction manual.